Cloud & networking
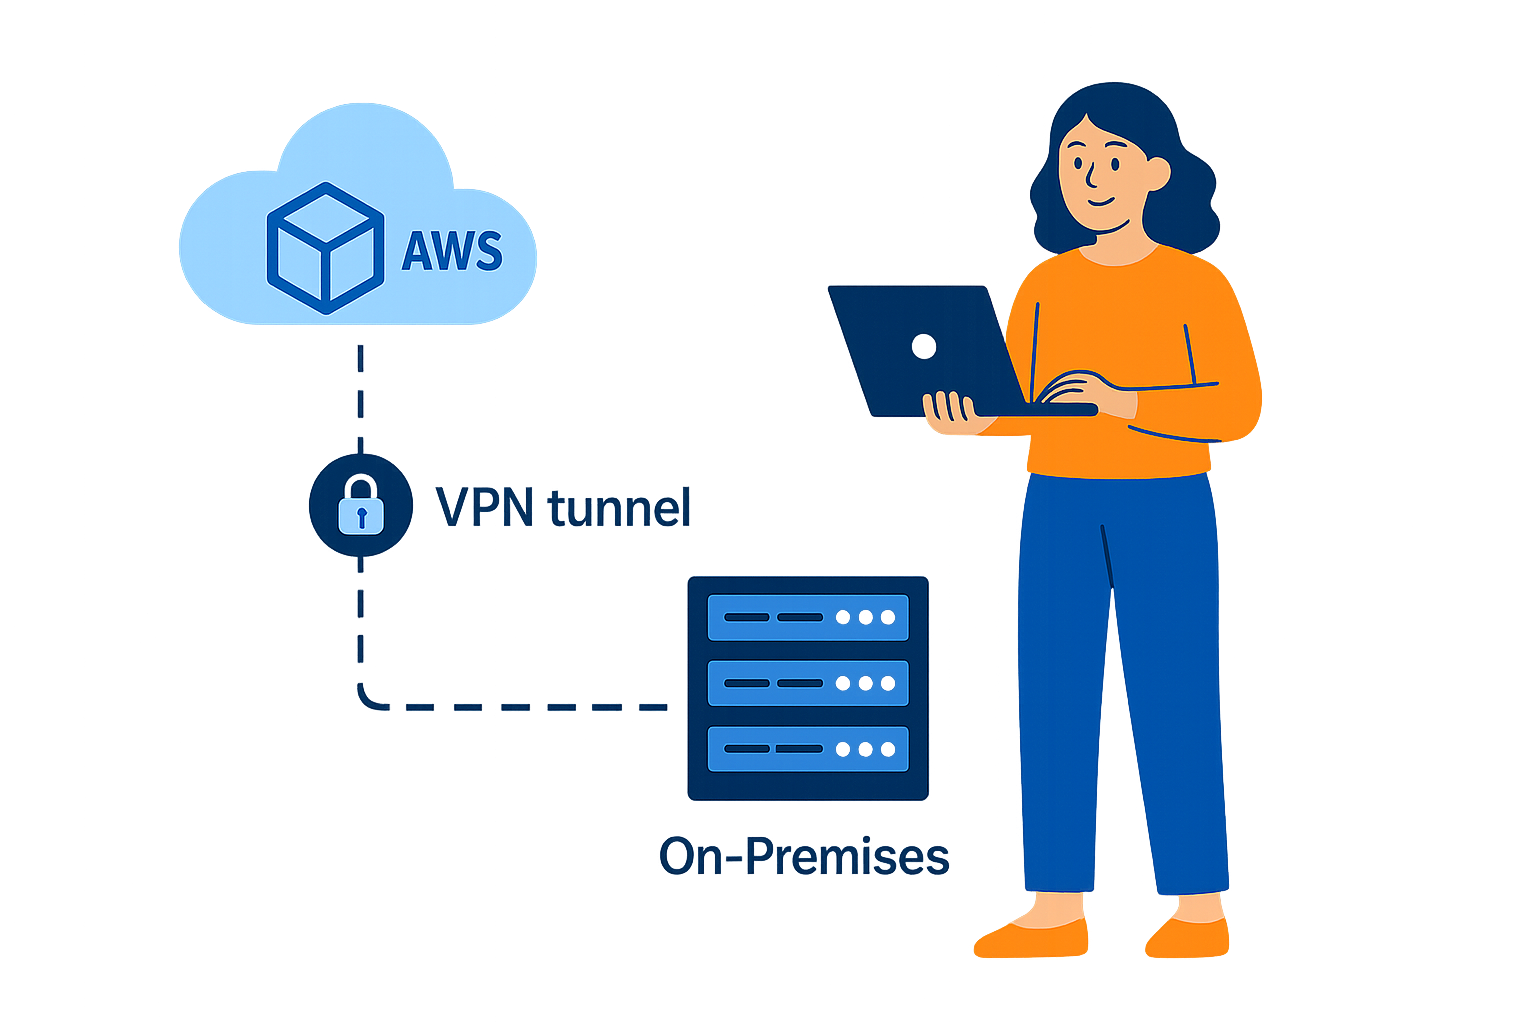
Site-to-Site VPN: Connecting on-premises to AWS VPC
Securely connect your on-premises network to AWS using StrongSwan and IPSec.
August 7, 2024·CloudGeniee·8 min read
Introduction
On the server we use StrongSwan, well supported on current Linux distributions. Older alternatives such as openswan are limited (e.g. older Ubuntu and Amazon Linux 2 era); StrongSwan is the practical choice for new deployments.

Configuration
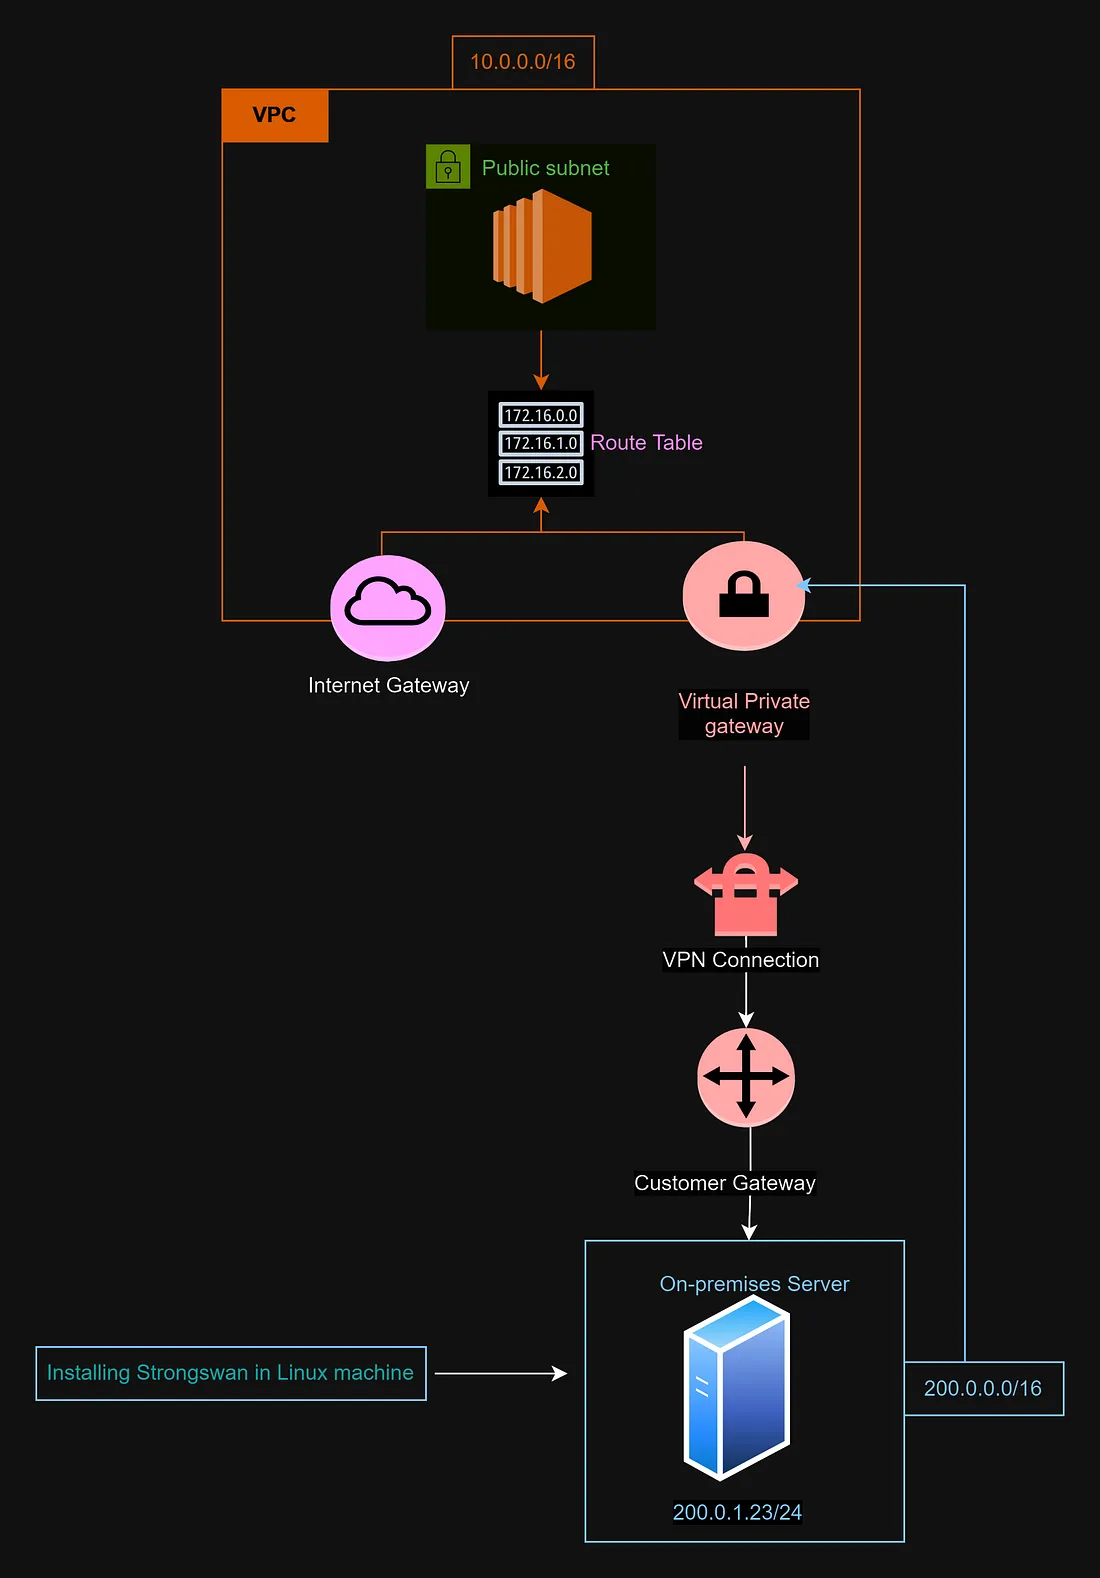
After StrongSwan is installed, configure the host to terminate the VPN toward your AWS Virtual Private Gateway. You need:
- Pre-shared keys (PSK) for each tunnel
- Virtual private gateway outside IP addresses (two tunnels)
When you create a Site-to-Site VPN connection in AWS, you receive two tunnel endpoints. To obtain the configuration and PSKs:
- Open the VPN connection in the VPC console and choose "Download configuration".
- Select the vendor/platform that matches your gateway (or generic).
- Download the file and locate the sections for IPSec Tunnel #1 and IPSec Tunnel #2; each lists a pre-shared key.
You will configure two tunnels for resilience. Each tunnel has its own remote peer IP and PSK; your on-premises side (left) stays the same public IP and local subnet.
Server configuration (ipsec.conf)
Edit StrongSwan’s configuration (commonly /etc/ipsec.conf or /etc/strongswan/ipsec.conf depending on distribution). Below is a template. Replace placeholders with your public IP, AWS tunnel IPs, and CIDRs:
# ipsec.conf: StrongSwan IPsec configuration (example)
config setup

conn Tunnel1
      authby=secret
      auto=start
      left=%defaultroute
      leftid=<YOUR_ON_PREM_PUBLIC_IP>
      right=<AWS_TUNNEL_1_OUTSIDE_IP>
      type=tunnel
      ikelifetime=28800s
      keylife=3600s
      esp=aes128-sha1-modp1024
      ike=aes128-sha1-modp1024
      keyingtries=%forever
      keyexchange=ike
      leftsubnet=<YOUR_ON_PREM_CIDR>
      rightsubnet=<YOUR_VPC_CIDR>
      dpddelay=10
      dpdtimeout=30

conn Tunnel2
      authby=secret
      auto=start
      left=%defaultroute
      leftid=<YOUR_ON_PREM_PUBLIC_IP>
      right=<AWS_TUNNEL_2_OUTSIDE_IP>
      type=tunnel
      ikelifetime=28800s
      keylife=3600s
      esp=aes128-sha1-modp1024
      ike=aes128-sha1-modp1024
      keyingtries=%forever
      keyexchange=ike
      leftsubnet=<YOUR_ON_PREM_CIDR>
      rightsubnet=<YOUR_VPC_CIDR>
      dpddelay=10
      dpdtimeout=30
Field reference
- leftid: your on-premises gateway public IP (as seen by AWS).
- right: the outside IP for tunnel 1 or tunnel 2 from the downloaded AWS config.
- leftsubnet: your on-premises network CIDR advertised across the VPN.
- rightsubnet: your VPC CIDR (or the specific subnets you route).
Pre-shared keys (ipsec.secrets)
Add one line per tunnel. Use the exact PSK strings from the AWS download (never commit real keys to git):
<YOUR_ON_PREM_PUBLIC_IP> <AWS_TUNNEL_1_OUTSIDE_IP> : PSK "<PASTE_PSK_TUNNEL_1>"
<YOUR_ON_PREM_PUBLIC_IP> <AWS_TUNNEL_2_OUTSIDE_IP> : PSK "<PASTE_PSK_TUNNEL_2>"
Restrict permissions on secrets files (e.g. chmod 600) and restart StrongSwan after changes.
sudo ipsec restart
sudo ipsec statusall
In AWS, confirm both tunnels show UP in the console when your customer gateway and routes are correct. On the Linux host, statusall should show established child SAs for the subnets you expect.
Conclusion
This pattern gives you a redundant, standards-based Site-to-Site VPN from on-premises Linux to AWS. Tune phase 1/2 lifetimes and ciphers to match your security policy and what AWS offers on the connection.